How to Install .NET Framework 3.5 in Windows 10
Recent Windows 10 versions come with .NET framework 4.8 pre-installed, but many apps developed in Vista and Windows 7 era require the .NET framework v3.5 installed along with 4.8. Today, we will review a number of methods that can be used to get .NET framework 3.5 installed in Windows 10.
The .NET framework is a development platform that makes it easier for application developers to create various Desktop and Web applications and services for Windows. The .NET framework makes creating programs faster by providing a wide range of ready-to-use libraries, classes, and functions.
Advertisеment
Tip: Find Which .NET Framework Versions Are Installed
Starting with Windows 10 version 1809 and Windows Server 2019, Microsoft considers the .NET Framework as a standalone product even though it ships with the operating system. It is on a different release and support schedule.
If you need to use an older app which was created using .NET Framework 3.5, there are a number of methods to install it in Windows 10. Let's review them.
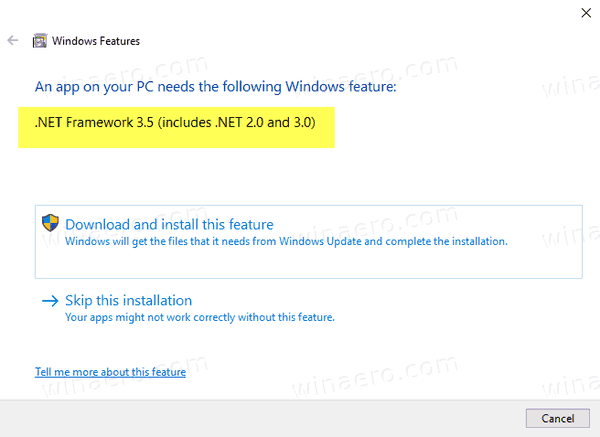
First of all, just try to run the app. This should trigger the .NET Framework setup on-demand and open the similar dialog:
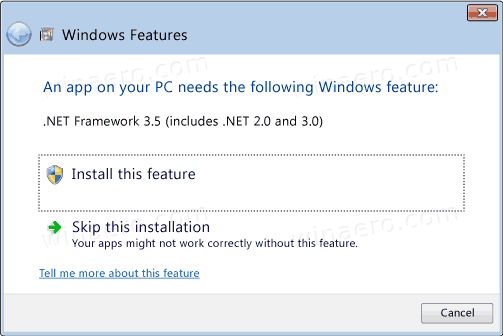
Click on Install this feature.
Otherwise, use one of the following methods.
To Install .NET Framework 3.5 in Windows 10,
- Press Win + R on the keyboard and type
optionalfeatures.exein the Run box.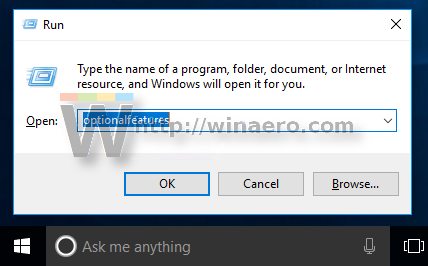
- Hit the Enter key.
- Tick (turn on) the .NET Framework 3.5 (includes .NET 2.0 and 3.0) item in the list and click OK.
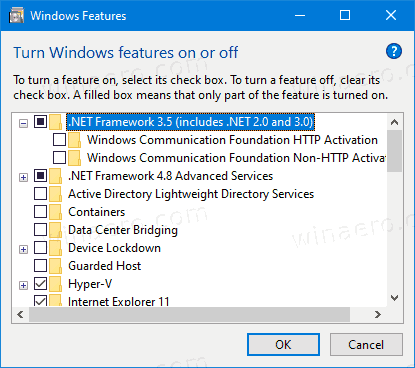
- In the next dialog, click on Let Windows Update download the files for you.
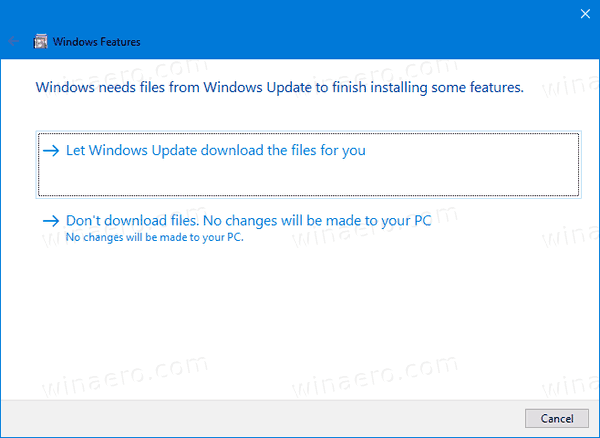
- The most recent version of .NET Framework 3.5 will be downloaded and installed.
- Click on Close to finish.
You are done.
Tip: See how to manage Optional Features in Windows 10.
Alternatively, you can install .NET Framework 3.5 using the command prompt or PowerShell.
Install .NET Framework 3.5 using the command prompt or PowerShell
- Open an elevated command prompt.
- Type the following command:
Dism /online /Enable-Feature /FeatureName:"NetFx3" - Once you press Enter, Windows will download and install .NET Framework 3.5.
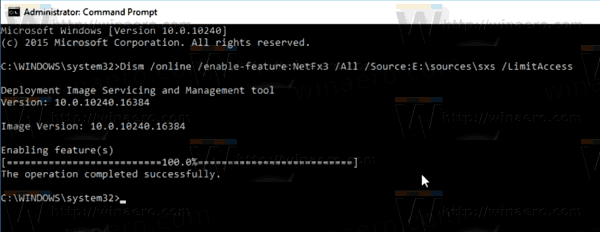
- Alternatively, open PowerShell as Administrator.
- Run the command
Enable-WindowsOptionalFeature -Online -FeatureName "NetFx3".
- Once it finish installing .NET Framework 3.5, you can close the command prompt or PowerShell.
You are done.
Also, you can install the .NET Framework 3.5 manually by downloading its installer from the Microsoft Web Site.
Download and install .NET Framework 3.5 manually
- Open your favorite web browser and point to THIS PAGE.
- Click on Download .NET Framework 3.5 SP1 Runtime.
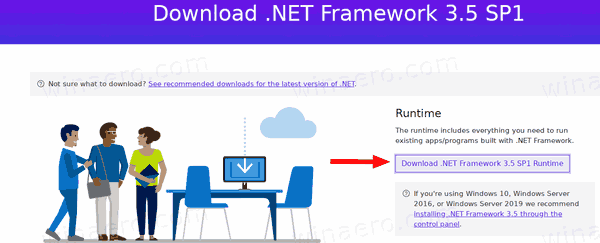
- Save the dotnetfx35.exe file (231Mb) to any folder you like.
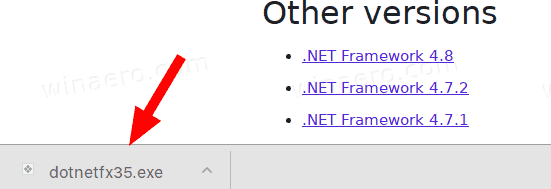
- Run it, and confirm the UAC prompt.
- Click on the Download and install this feature button.
- Windows will install .NET Framework 3.5
You are done!
Installing .NET Framework 3.5 without an Internet connection
As you may have already notice, all the methods above require an Internet connection to be able to download the .NET Framework package from Microsoft. None of them will work when you are offline, or have a poor connection or a limited data plan. In such a case, you can install .NET Framework 3.5 from the Windows 10 installation media. This method is much faster and does not even require an Internet connection.
This method is described in detail in the following post:
Offline install of .NET Framework 3.5 in Windows 10 using DISM
From there, you can download a handy batch file which automates the task and does everything for you. All you need is Windows 10 installation media of the OS build and version you have currently installed.
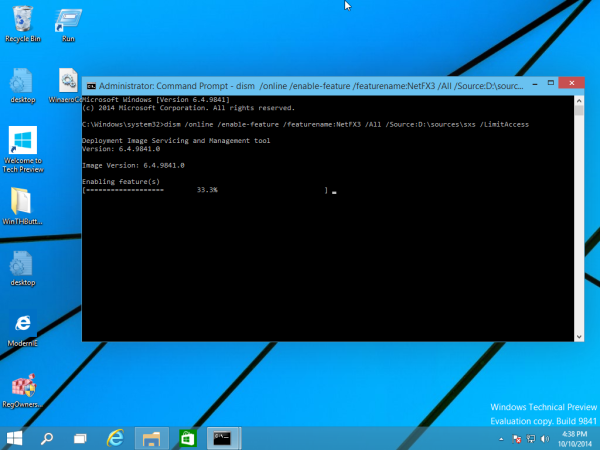
In short, you need to issue the following command in a command prompt opened as Administrator:
Dism /online /enable-feature /featurename:NetFX3 /All /Source:D:\sources\sxs /LimitAccessSubstitute the "D:" portion (of the red color above) with the proper letter of your installation media, e.g. a DVD drive or bootable USB stick.
That's it!
Support us
Winaero greatly relies on your support. You can help the site keep bringing you interesting and useful content and software by using these options:
If you like this article, please share it using the buttons below. It won't take a lot from you, but it will help us grow. Thanks for your support!
Advertisеment

Thanks. Idiots @ Microsoft don’t mention anything about W10 in their incompetent instructions for installation.
Their “install tool” just reached a certain point while “downloading” (even when it was nominally the “full package”) and stopped without proceeding any further.
Powershell-as-admin worked fine.
Two thumbs up.
same,tutorial from here using powershell, finally my 3.5 version is on… freaking idiot microsoft..